
After struggling for years repositioning radios and test equipment at the workbench, I finally found a simple but elegant solution. In a recent YouTube radio repair video, Stefan Steger, DL7MAJ, demonstrated a Lazy Susan-type workbench turntable that allows him to easily rotate different sized equipment while working on them.
His system is made up of a two-part assembly and uses a metal “turntable ring” to rotate it. Stefan was kind enough to share his plan with me, and I made up my own version in short order (below).
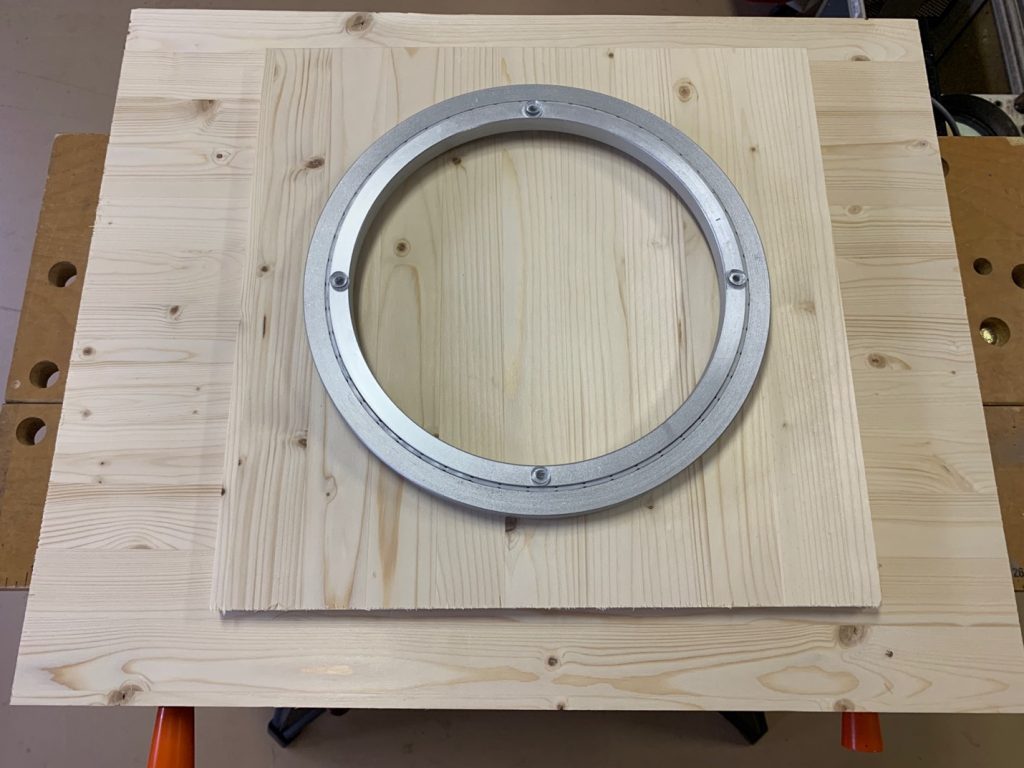
To begin, you’ll need a turntable ring. Rings of various diameters can be found online by searching “Lazy Susan turntable ring.”
Stefan used a melamine material for his turntable surfaces, but I opted for pine. Along with the turntable ring, use two pieces of wood or similar material to form a smaller permanent base and a larger attachment for equipment that extends beyond the edges of the base section.
Size is up to you, depending on the ring you choose. I found that the smaller 12″ diameter ring I used to construct my turntable was sufficient to turn a large HF transceiver easily with the second larger surface plate attached.
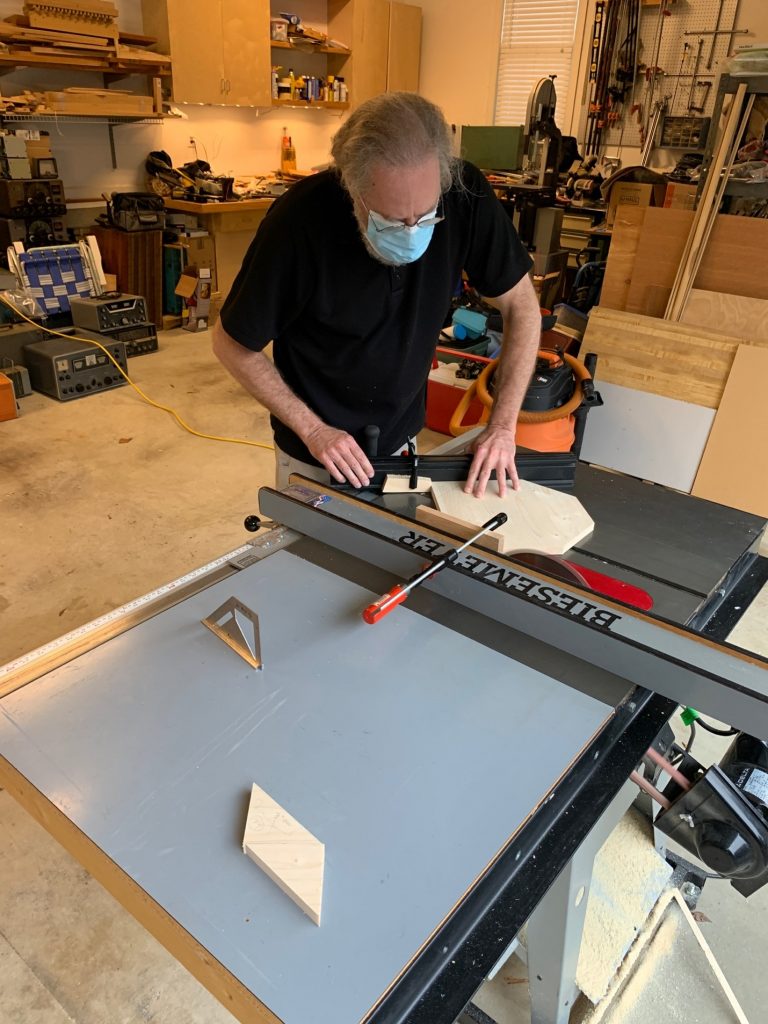
My good friend Kerry Hofferth, NH2A, is an experienced woodworker and made all the wood cuts for me.
See below how the component parts will come together to form the complete turntable.
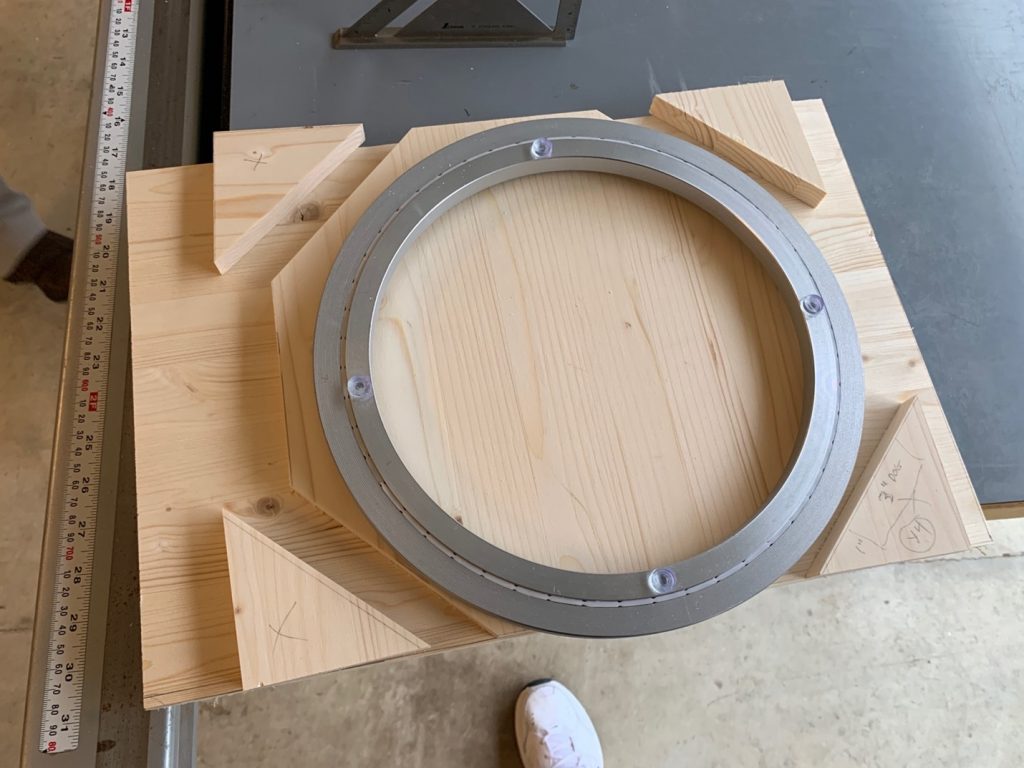
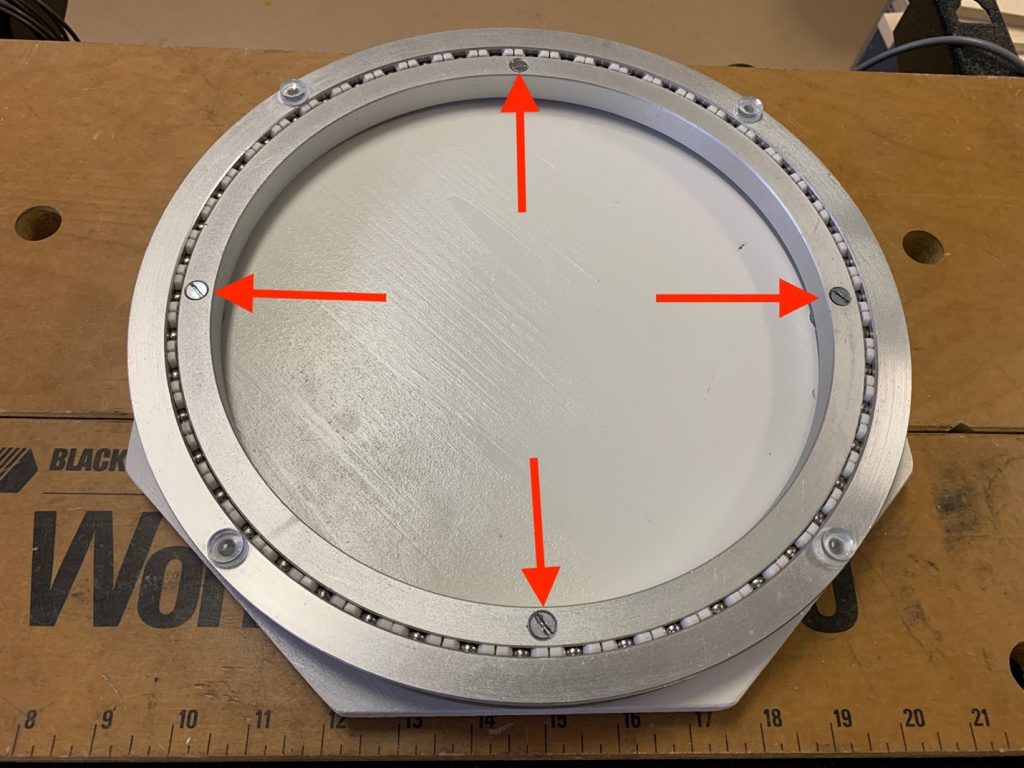
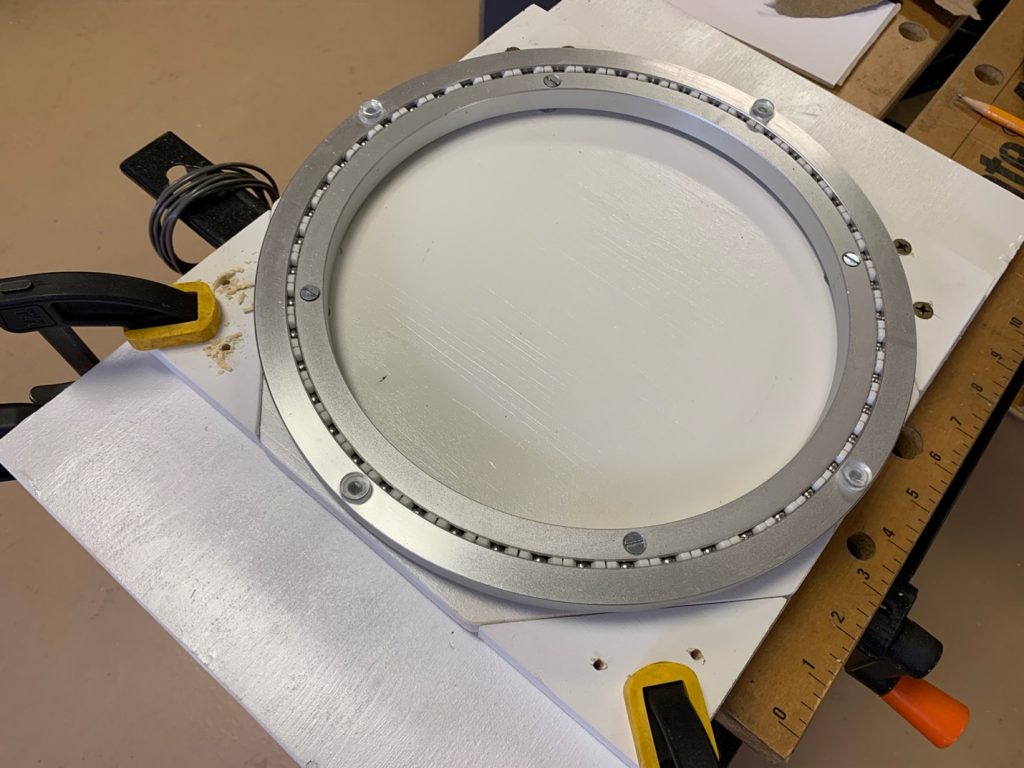
Once the pieces were cut and painted, construction began by attaching the ring to the octagonal base with four screws (below) directly at the mid-points of each edge and even with the outer circumference of the ring. This forms the rotating base that can be used with smaller size equipment.
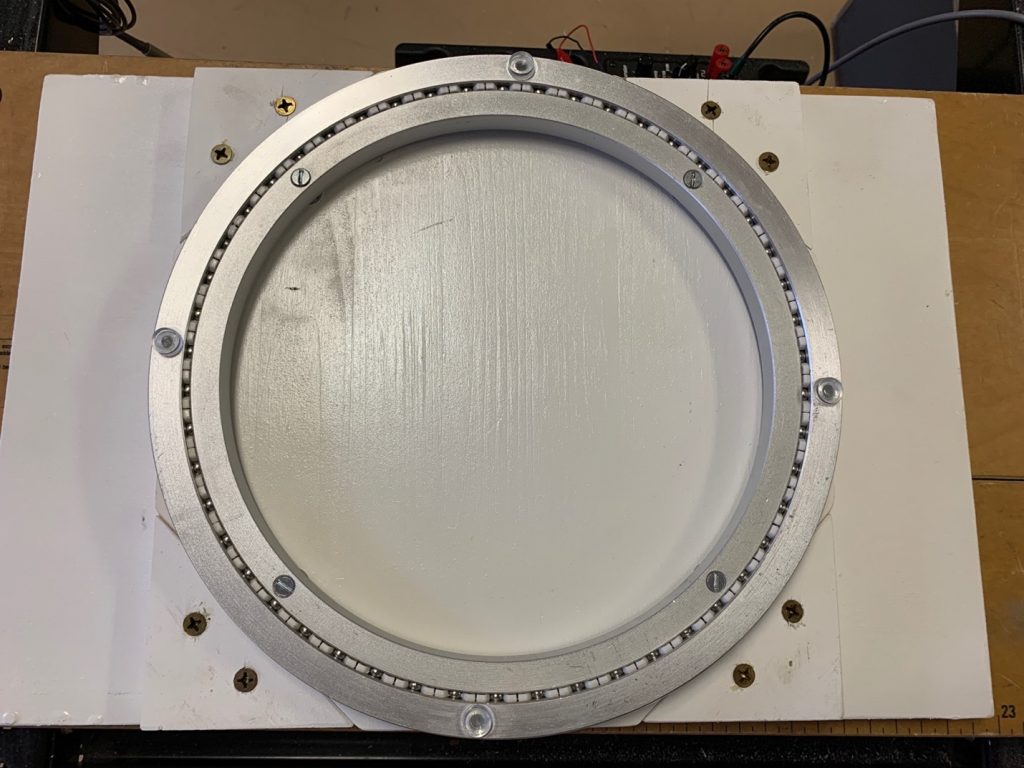
Four small triangular corner “dogs” are made from the four corners cut when creating the octagonal base. These corners are attached to the bottom of the larger base to form a space that allows the two pieces to mate snugly together, increasing the surface area available to use with larger pieces of equipment.
The corners should provide a snug fit for the base but not one that is too tight.
The alignment of the corner pieces that hold the smaller base will probably not be perfectly symmetrical and may cause difficulty when mating the two sections. Once I determined the best fit, I simply made two aligned marks, one on the edge of each section, that indicated how to align and couple the two parts together easily.
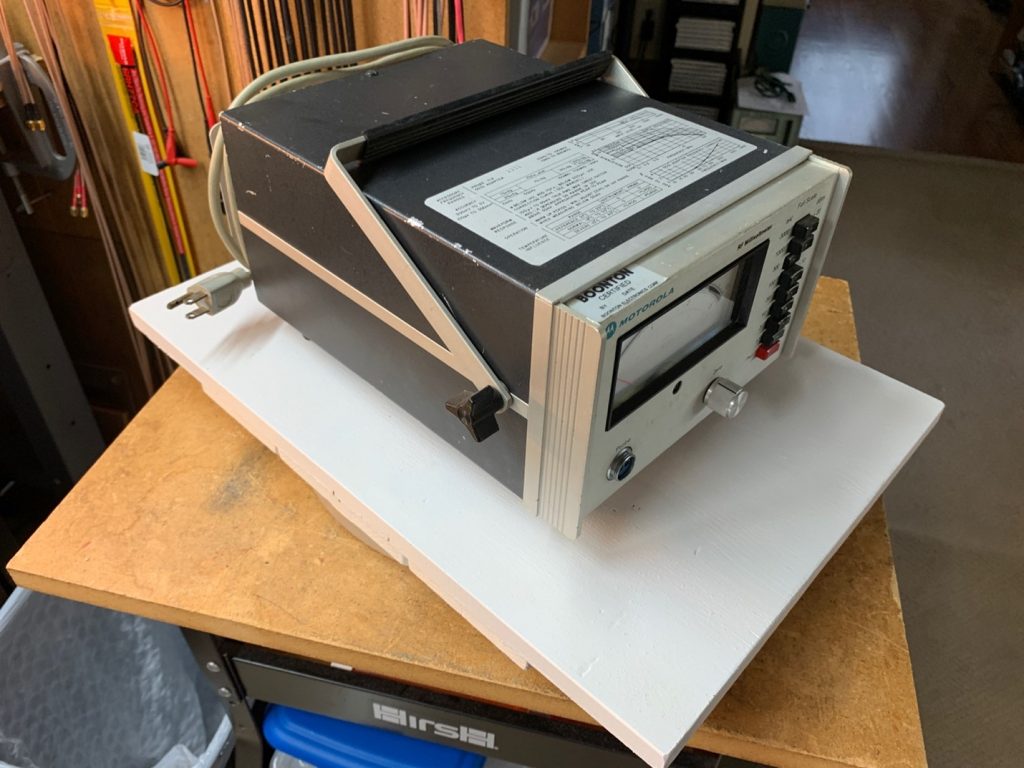
The finished project gives you a dual-size turntable system and allows you to accommodate small and large pieces of equipment.

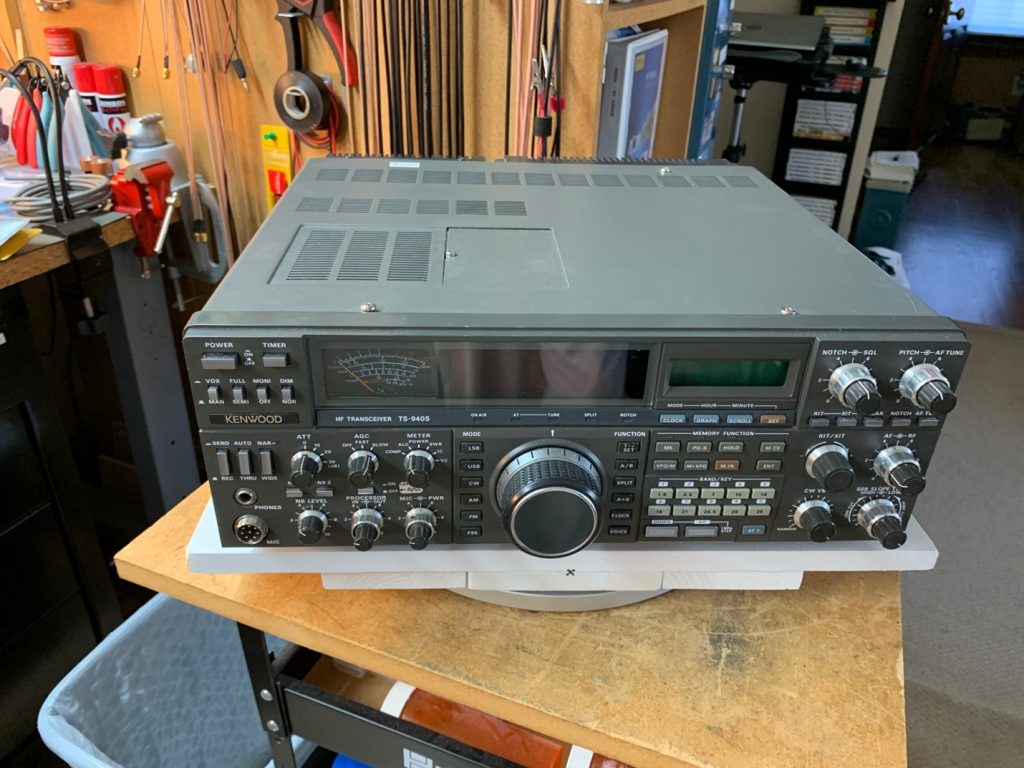
I’ve found this simple, inexpensive accessory very useful for working on equipment at the bench and hope you’ll find it useful as well.
Dino Papas KLØS is a frequent On All Bands, QST and On the Air author and has been an amateur radio operator for over 50 years. You can contact Dino at kl0s@arrl.net.